|
|
此文章由 madling 原创或转贴,不代表本站立场和观点,版权归 oursteps.com.au 和作者 madling 所有!转贴必须注明作者、出处和本声明,并保持内容完整
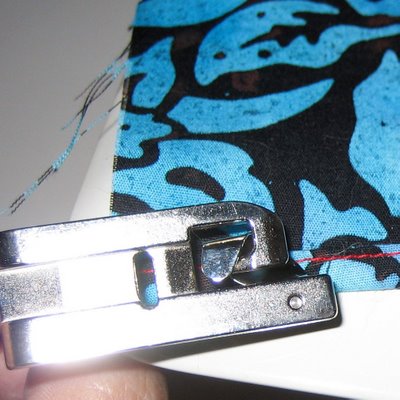
这个压脚有几个尺寸卷出不同宽度的包边,国内淘宝上是几块钱就搞定了。这里不知道卖多少钱。烫熨过后效果还是不错的!很多时候我喜欢用这个懒得再用锁边机了一次搞定。
Using the rolled hem foot is easy as pie – with just a little practice. You can’t beat this foot for a quick, neat hem on lightweight fabrics!
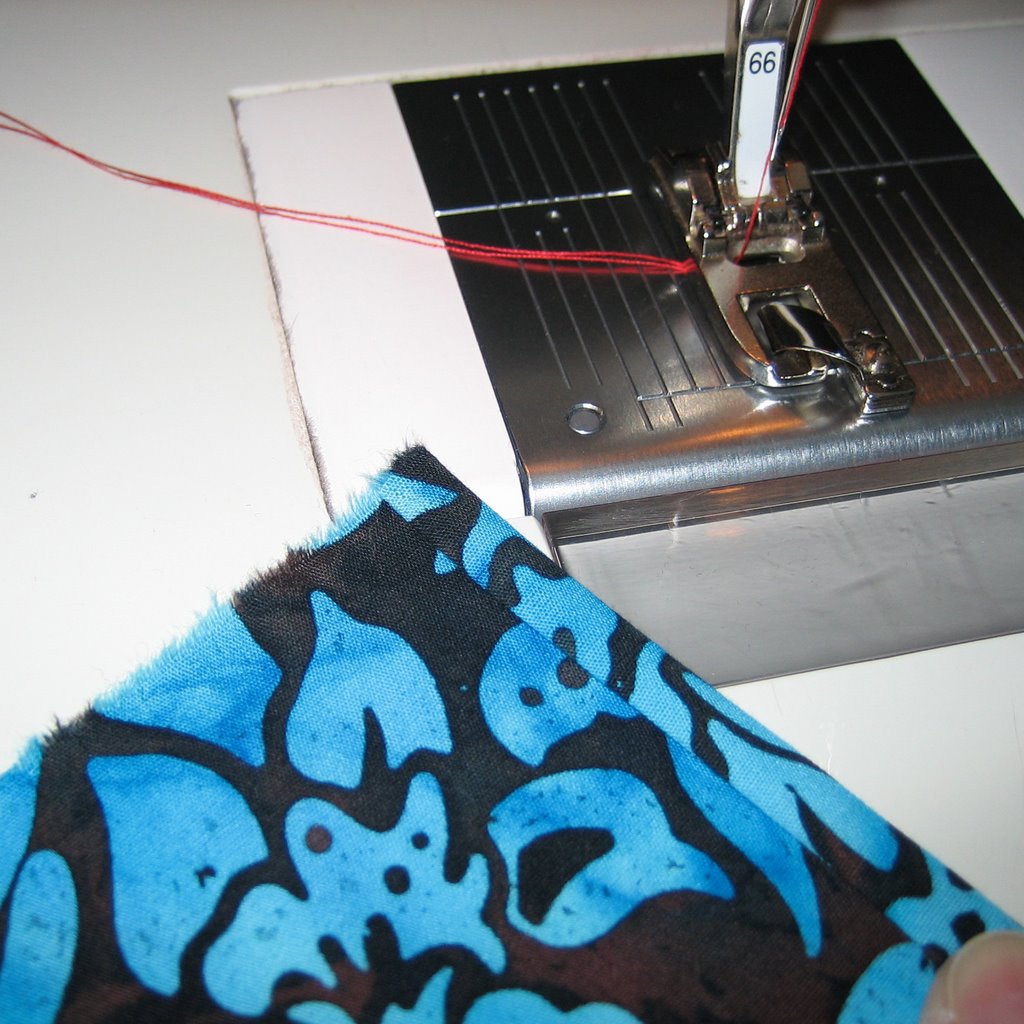
Step 1: Using the size of your foot as a guide, turn and finger-press a double hem at the edge (or your starting point if you’re hemming in the round)

Step 2: Without putting the hem into the scroll of the foot, sew your hem for about a half-inch, just enough to anchor it. Stop with the needle down.
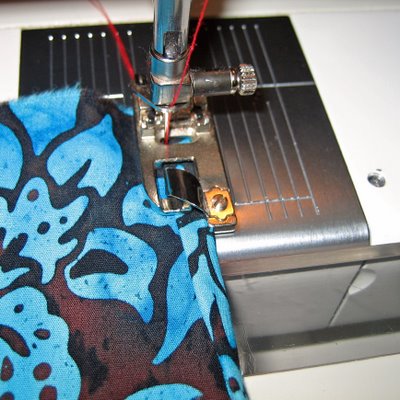
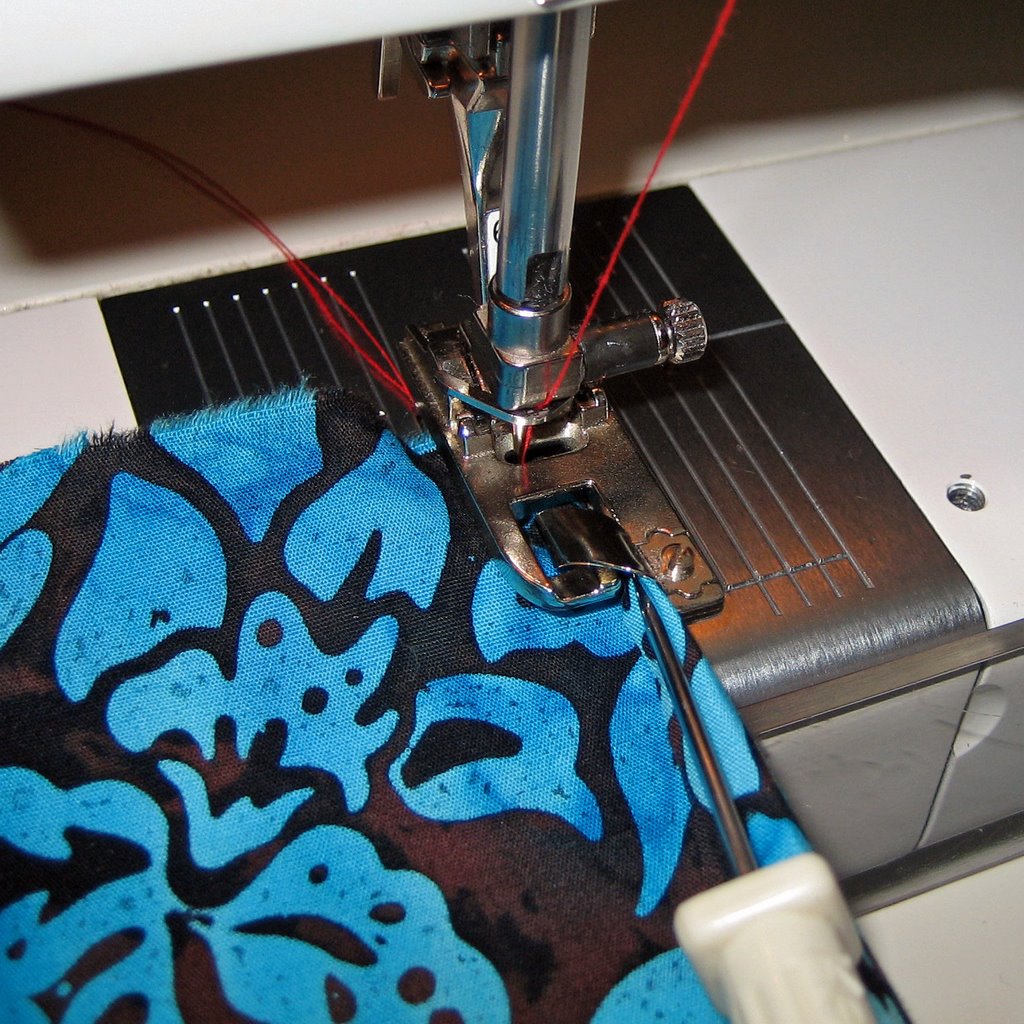
Step 3: Using an awl or your seam ripper, guide the fabric into the scroll.

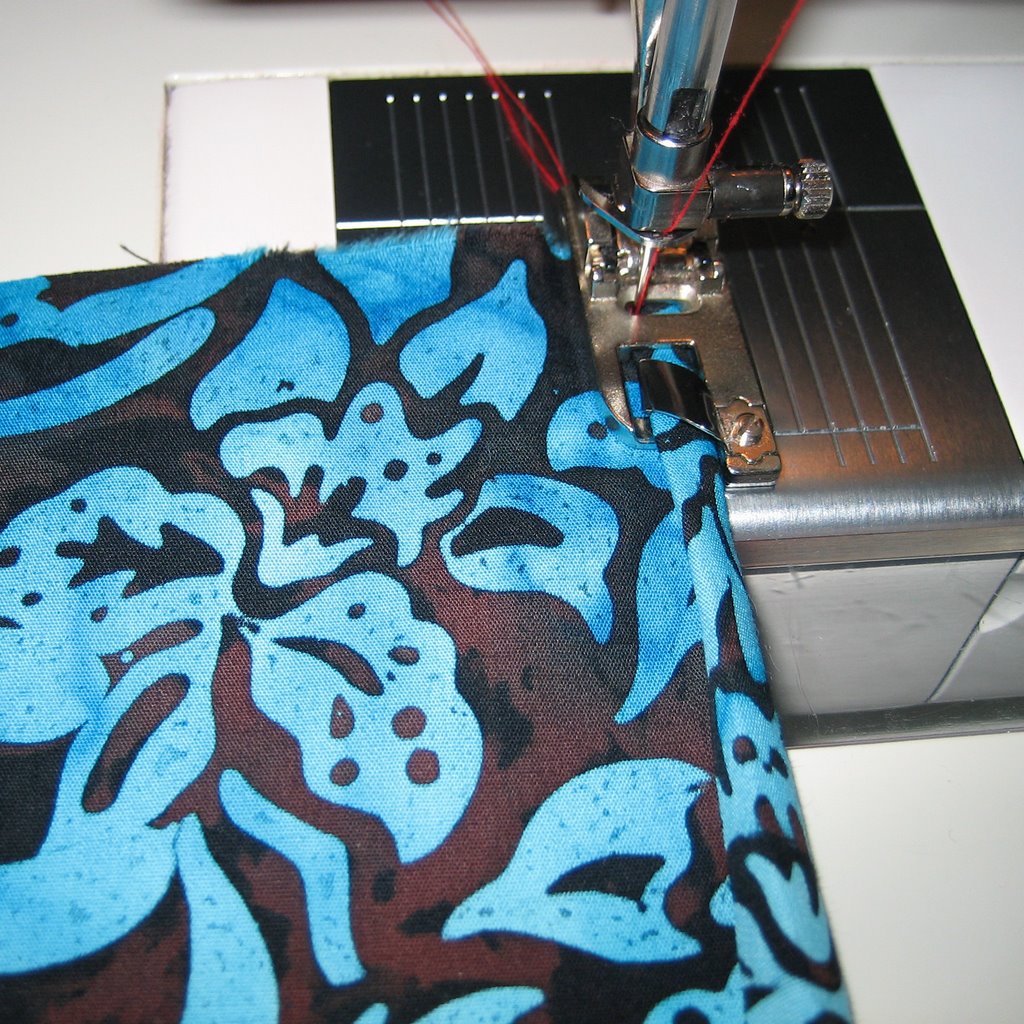
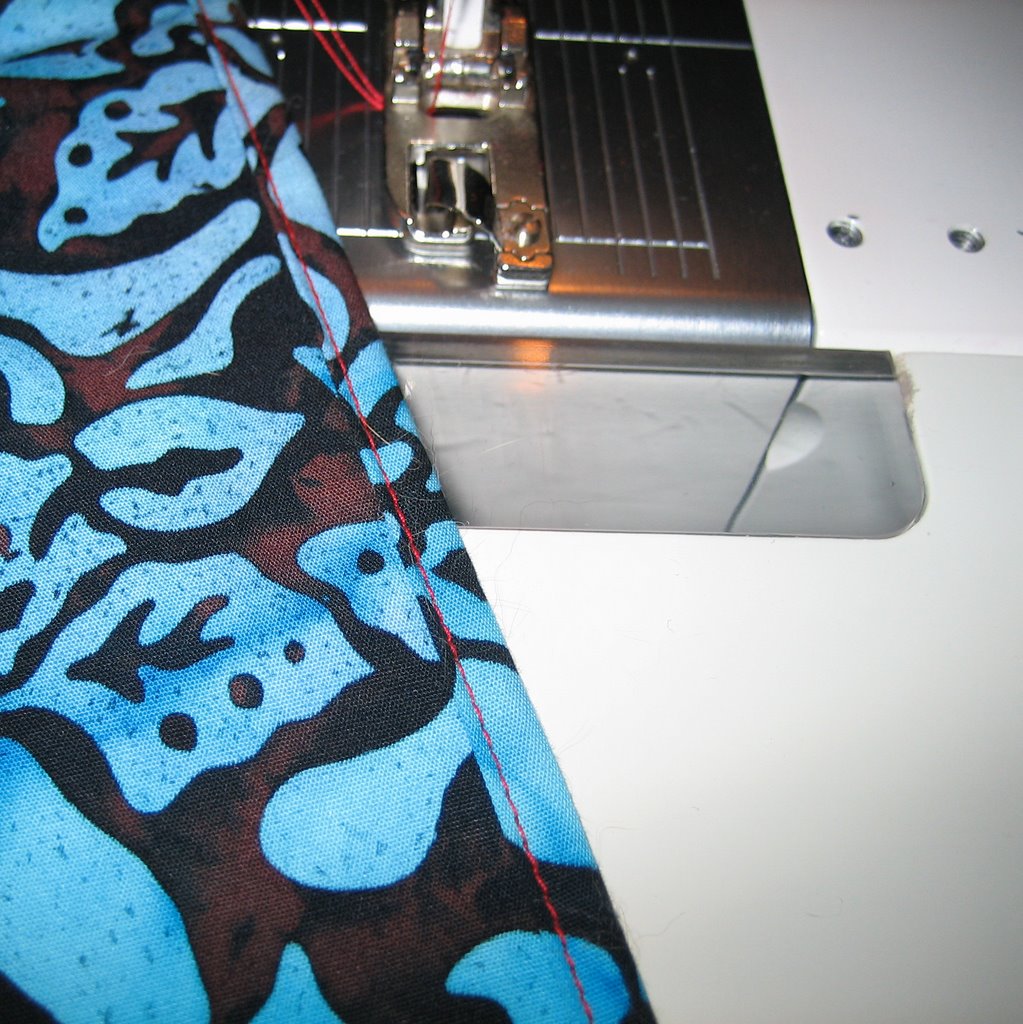
Step 4: While keeping your edge straight and feeding the fabric evenly into the scroll, complete your hem.


If you are making napkins or a similar project where you’ll have to hem over a previously hemmed area, do the same as before. Simply finger press the starting point and stitch well past the bulky area before feeding the fabric into the scroll. Before you reach the other hemmed end (I hem north and south, then east and west) stop, remove the fabric from the scroll, finger press and resume stitching.

TIPS:
*If you are working in the round, stop a couple of inches before you reach your starting point, remove the fabric from the scroll, finger press your hem and finish your stitching.
*When approaching bulky seams, it will often be necessary to remove the fabric from the scroll, stitch past the bulk and then reinsert the fabric. Leaving the needle in the fabric while you do this will keep everything in place.
*If I’m making napkins, I hem all the way across the width of my fabric (top and bottom) before cutting it apart into individual napkins. This is faster since it eliminates a lot of starting and stopping. For instance, if I’m making 18″ napkins I cut my fabric into 19″ pieces across the width before hemming the long edges. Afterward, I cut the strips into 19″ pieces and hem the short ends. |
评分
-
查看全部评分
|
 笔记本电脑DIY换液晶显示屏灯管 (2010-4-8) 羽人
  小贝塔开车回来啦,还有PP看哦 (2005-1-13) 小贝塔

 发表于 2012-4-27 01:36